If you took the step up to the Citrix Cloud services, you may notice that content publishing (URL or UNC) requires some extra steps to achieve, due the missing support using the Citrix Cloud Studio Service, which leaves us with the option of using the XenDesktop Remote PowerShell SDK.
If you are not familiar with the XenDesktop Remote PowerShell SDK, check this post
Now let’s suppose you have everything in place, meaning the Remote PowerShell SDK installed on a VM.
Well, you can do this in two different ways:
Method 1: (Basic method)
—————————————
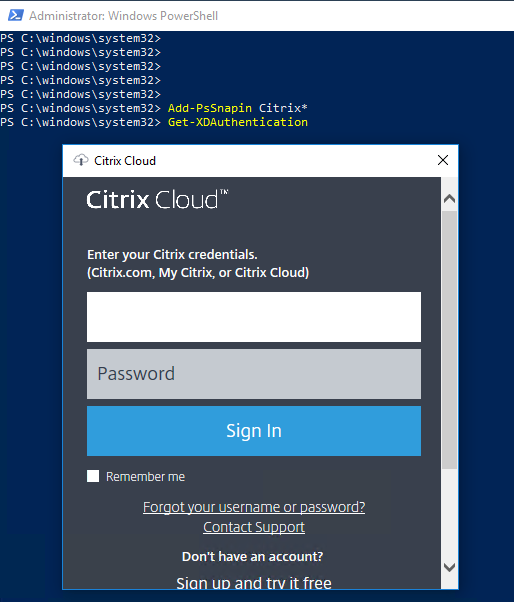
Start your PowerShell as administrator and type the following (line by line) to load the Citrix Snapins and authenticate your self to your Cloud site:
Add-PsSnapin Citrix*
Get-XDAuthentication
You will get prompted for authentication: Enter your Cloud administrator credentials
Now let’s publish our first content by typing the following:
New-BrokerApplication -ApplicationType PublishedContent -Name “Name of your application” -CommandLineExecutable “URL of the application” -DesktopGroup “Name of your delivery group“
If you are publishing a file on a UNC share, simply enter the UNC adress instead of URL of the application
For example:
New-BrokerApplication -ApplicationType PublishedContent -Name “Peter Smali Blog” -CommandLineExecutable “https://www.smali.net” -DesktopGroup “Smali Main group”
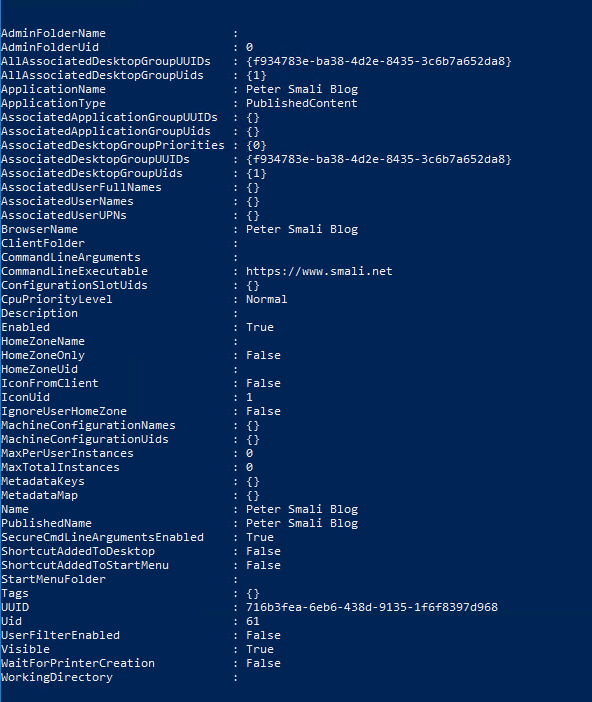
upon completion you’ll be presented with something similar to the following..
Now head back to your Studio and you’ll see your application published with the Citrix default icon
At this step you’ll be able to configure the published content as you desire (Assigning KEYWORDS, Changing application name, Command line argument, file type association, … ) or if you like to change the default icon being assigned, just follow those instructions
Method 2: (A little bit advanced method)
————————————————————–
You can basically play a little bit with PowerShell by defining some variables as follow:
Note: You can name your variables exactly as you wish…
Start by defining your existing delivery group
$SmaliDeliveryGroup = Get-BrokerDesktopGroup -Name “Name of your delivery group”Then, assign a valid URL for your app
$SmaliBlogUrl = “URL to your application”Assign a name for the resource you are publishing
$ApplicationContentName = “The name you like to assign to your application”Create your app
New-BrokerApplication –ApplicationType PublishedContent –CommandLineExecutable $SmaliBlogUrl -Name $ApplicationContentName -DesktopGroup $SmaliDeliveryGroup.Uid
Example:
$SmaliDeliveryGroup = Get-BrokerDesktopGroup -Name “Scandic Admin Group”
$SmaliBlogUrl = “https://www.smali.net/”
$ApplicationContentName = “Peter Smali Official Blog”
New-BrokerApplication –ApplicationType PublishedContent –CommandLineExecutable $SmaliBlogUrl -Name $ApplicationContentName -DesktopGroup $SmaliDeliveryGroup.Uid
You can do exaclty the same thing when publishing an UNC resource as well…
I hope you find this helpful 🙂


